Are you ready?
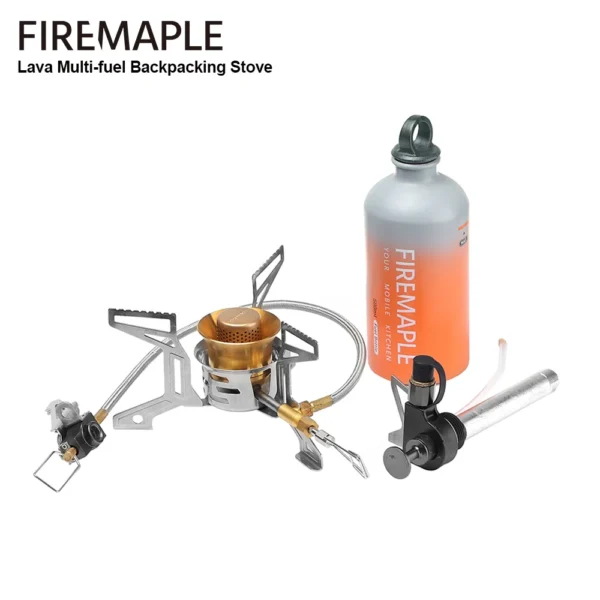
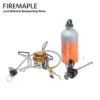
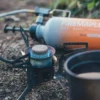
Fire-Maple Lava Multi-fuel Backpacking Stove Compact Outdoor Hiking Camping Portable Gasoline Gas Stove with Fuel Bottle
£155.99
2 in stock
Feature:
Multi-fuel Options – works with Variety of Fuel Types: butane-propane, gasoline, kerosene
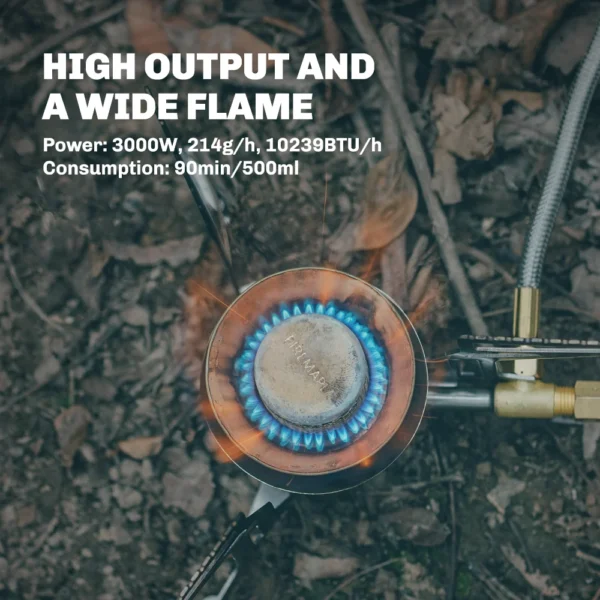
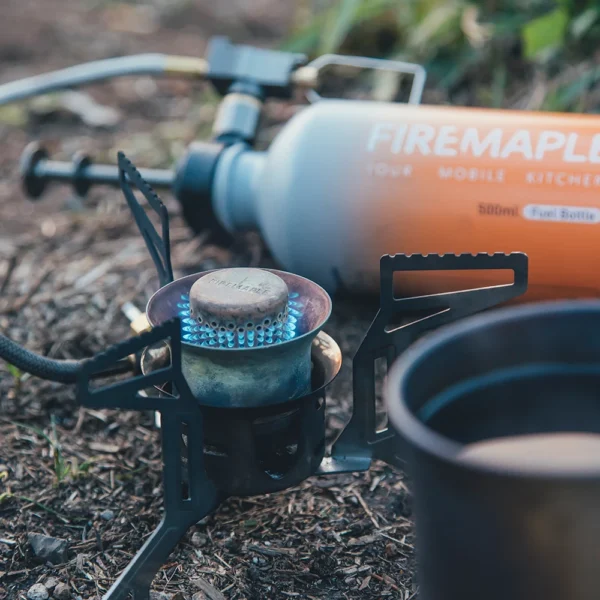
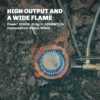
High Output and A Wide Flame – 10,239 BTUs, Boiling water in just 3’15”
Allows Simmer – Lava able to simmer food, allows to cook more delicate foods without burning them
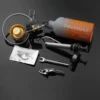
Easy to Maintain – come with repair kits
Easy to Carry – compact and portable, with cloth bag
Specifications:
Material: Stainless steel / Aluminium alloy / PA66 / FPM / Copper / FG
Unfolded Size: 135x189x96mm,5.3×7.4×3.8in
Folded Size: 135x62x96mm,5.3×2.4×3.8in
Weight: 364g,12.83oz(Stove Body and Pump)+137g, 4.83oz(500ml Fuel Bottle)
Power: 3KW,214g/h.10239BTU/h
Consumption:90min/500ml
Fuel Type: Butane-propane, Gasoline, Kerosene
Boiling 1L of Water:
|
Fuel |
Time |
Fuel Consumption |
|
White electric oil |
3’20” |
14.1g |
|
92# gasoline |
3’40” |
14.7g |
|
Kerosene |
4’35” |
16.5g |
|
Gas |
3’17” |
14.9g |
Package Included:
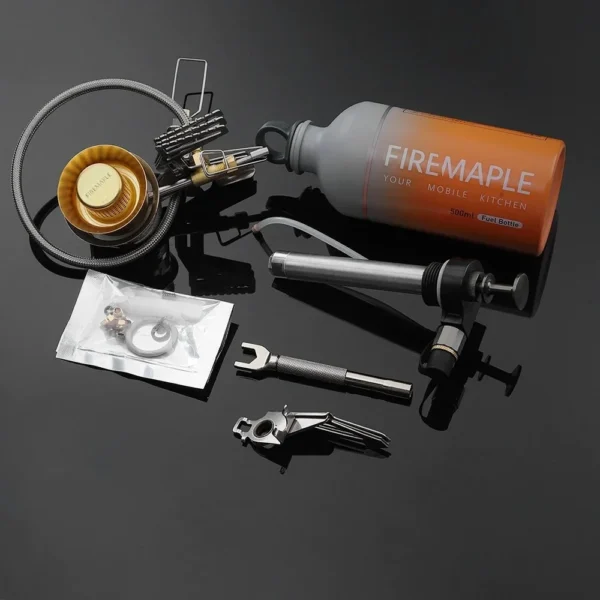
1 x Pump
1 x Stove
1 x 500ml fuel bottle
1 x Repair kit
1 x Gas cartridge bracket


Package Included:

How To Use – Liquid Fuel
1. Fill gasoline or kerosene into the fuel bottle. Do not exceed the maximum filling mark on the bottle.
2. Make sure the burner control assembly and the valve control assembly are in a closed situation. Then tighten the fuel bottle and the fuel pump. (Check the 0-ring on the pump after tightening. lf the 0-ring on the pump seal is deformed.loosen the 0-ring slightly to restore it. Then tighten it again, and check upside down for no leakage. Finally, tighten the connection between the valve and the pump.)
3. Place the fuel bottle vertically and pressurize it through the plunger: Stop the pressurization process when a strong resistance is created.(Reference pressing times: 60-80 times)
4. Place the fuel bottle horizontally, and let the feet on the bottle make contact with the ground. Turn the valve control handle 360 degrees counterclockwise to let the fuel flow into the fuel line. Then turn the burner control handle counterclockwise to let the fuel spray out from the nozzle. Wait for 3 to 5 seconds and then close the burner control assembly
5. Wait for about 10 seconds, let the fuel sink onto the fireproof cotton, and then ignite the burner. Preheat the burner and wait for the flame to decreasel(about 60 seconds).Then slowly turn the burner control handle counterclockwise until the flame isblue and stable. (Notice: lf the preheat flame goes out, you need to wait for the burner to cool down completely then repeat steps 4 and 5.)
6. Place a suitable pot on the burner to start cooking. Adjust the burner control handle to obtain the desired flame. When the flame has weakened, check the fuel bottle and pressurize it again. Hold down the fuel bottle tightly when pressurizing.
7. After cooking, turn over the fuel bottle to let the feet on the fuel bottle be in the up position. Wait for the fuel in the fuel line to run out and let the flame go out. Close the valve control assembly first, and then close the burner control assembly.
8. After the burner body is completely cooled down(about 5 minutes), disconnect the fuel pump from the valve control assembly.

How To Use – Gas
1. Make sure the burner control assembly and valve control assembly are in a closed situation, and then connect the valvecontrol assembly to the gas tank. Finally, check the valve control assembly and the gas cartridge are in a tight seal.
2. Turn the valve control handle counterclockwise first. Then turn the burner control handle counterclockwise until the gas begins to flow. lgnite the burner with a lighter.
3.A flame will bevisible after ignition, but it may be unstable. Adjust the burner control handle to a low fire. After a few seconds, when the flame is stable and turns blue, preheat it for about 15 seconds and adjust to a stable fire, and then the burnercan be used normally.
4. After the burner is fully preheated (about 3-5 minutes), unfold the upper bracket of the vave, and then the gas cartridge can be inverted to ensure stable fire.
5. When the gas cartridge is ued inverted and needs to be closed, the valve control assembly must be closed first to ensure that the gas-liquid mixed fuel in the fuel line is run out. Then the burner control assembly can be closed.
6. Complete step 5 after finishing cooking. Let the burner completely cool down (about 5 minutes) before disconnecting the valve control assembly and gas cartridge.











Reviews
There are no reviews yet.